




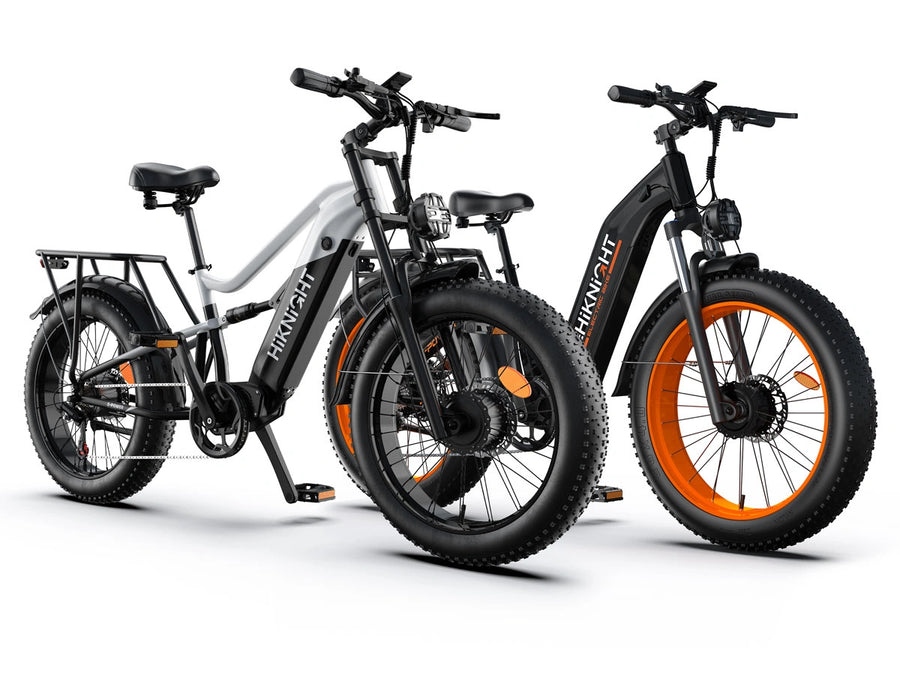

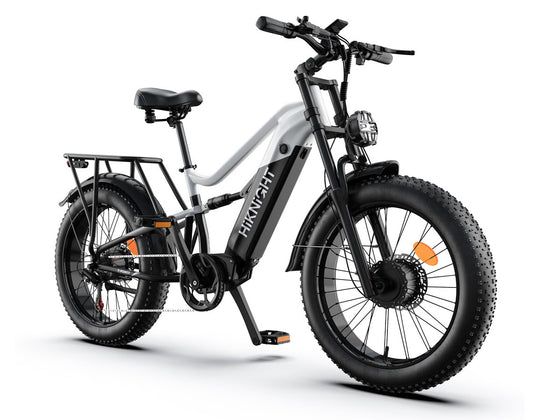
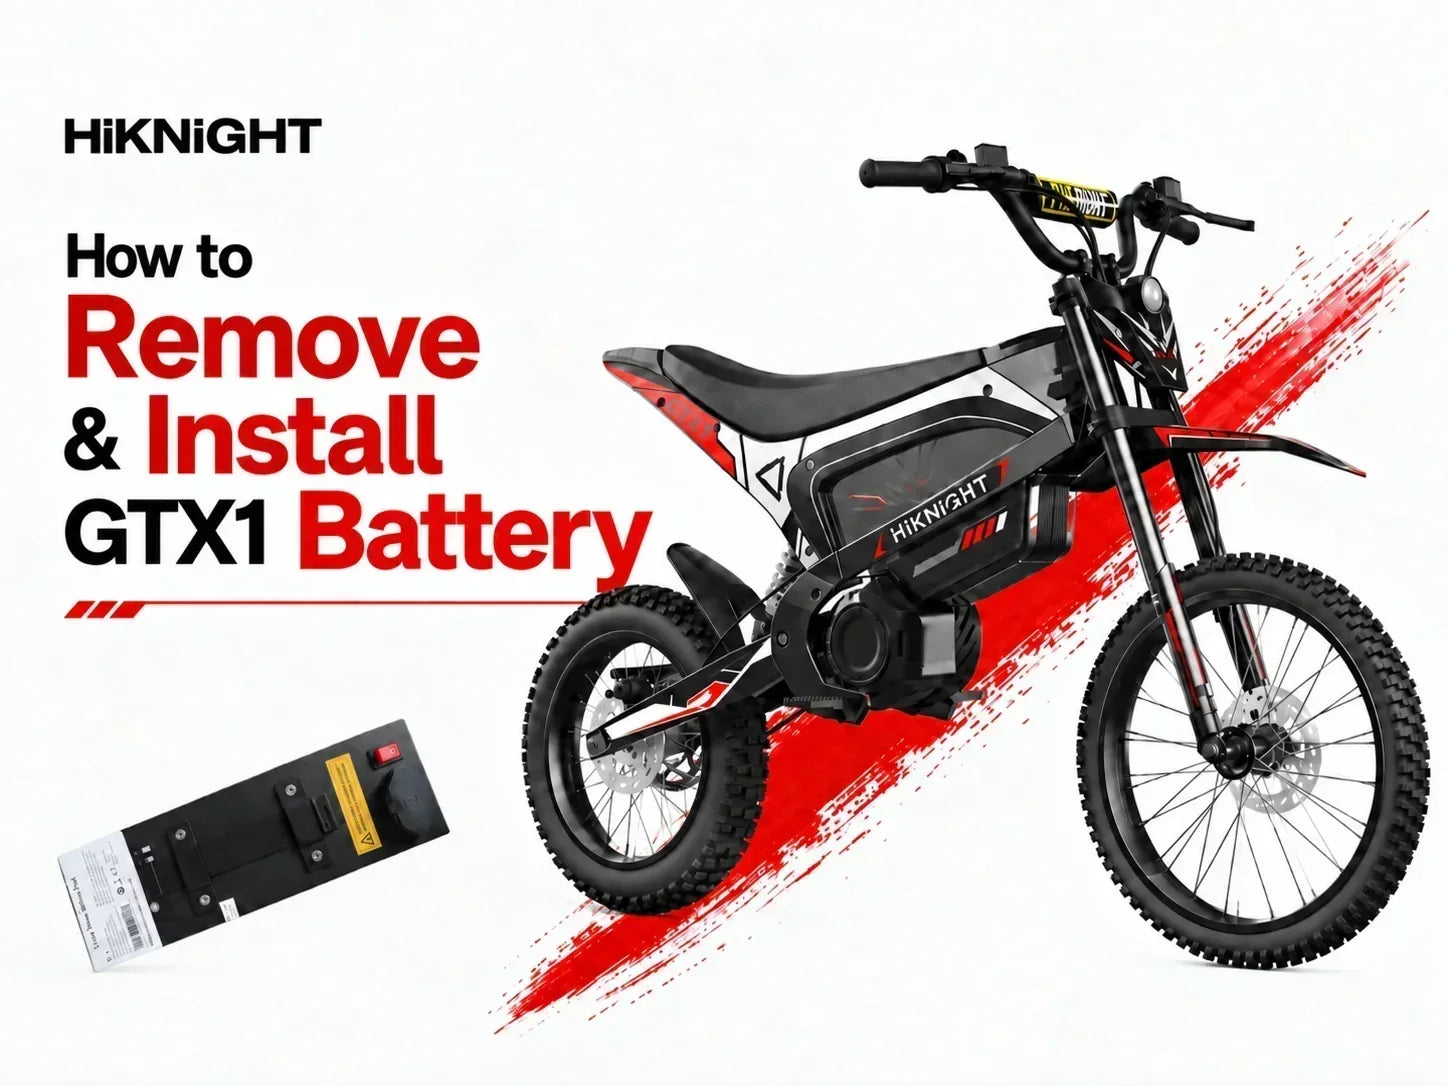
Quick Answer: GTX1 Battery Removal & Installation
The GTX1 battery can be removed and installed without special tools. Before starting, turn off the GTX1 and the red battery power switch. Unlock and remove the seat, disconnect the black battery connector, and carefully lift the battery out.
For battery installation, remember these key points:
- Battery display should face upward.
- Battery connector should face the vehicle connector.
- Connect the black connector securely before turning on the red battery switch.
- Lock the seat before turning on the GTX1.
This guide explains how to safely remove and install the GTX1 battery, inspect the battery and connector, complete the final power check, and troubleshoot common battery installation problems.
Before You Start: Safety & Tools
Before removing or installing the GTX1 battery, park the vehicle on a stable, dry surface and make sure the electrical system is powered off.
Safety Checklist
- Turn off the GTX1 power.
- Turn off the red battery power switch.
- Disconnect the charger before working on the battery.
- Work in a dry and well-lit area.
- Keep the battery and connectors dry.
- Never pull directly on the battery wires.
- Do not force the battery, seat, or connector into position.
Tools You Need
No special tools are required for normal GTX1 battery removal or installation. A clean, dry cloth is recommended for wiping dust or debris from the battery and battery compartment.
Important: Do not use a wet cloth on electrical connectors or allow water to enter the battery connection.

1. How to Remove the GTX1 Battery
Follow these steps to safely remove the GTX1 battery. The basic process is: turn off the power → remove the seat → disconnect the battery → remove the battery → inspect and clean.
Step 1 Turn Off the GTX1
Use the key to turn off the GTX1 and make sure the vehicle has completely stopped operating. Disconnect the charger if the bike is connected to a power source.
Step 2 Unlock and Remove the Seat
Insert the key and turn it to unlock the seat. After unlocking, push the seat backward first, then pull it diagonally backward to remove it.
Do not force the seat upward. If the seat feels tight, gently move it while pulling backward until it releases from the mounting position.
Step 3 Turn Off the Battery
Locate the red power switch on the battery and turn it off before disconnecting the battery connector.
Step 4 Disconnect the Black Battery Connector
Locate the black, thick battery connector. Hold the connector housing and pull it upward to disconnect it.
If the connector feels tight, gently move it while pulling upward. Do not pull directly on the cable.
Connector Tip: Always grip the plastic connector housing rather than the wire. If it does not separate easily, stop and check its position instead of applying excessive force.
Step 5 Remove the Battery
After disconnecting the battery connector, carefully lift the battery upward and out of the battery compartment.
If the battery feels stuck, gently move or rock it to release it from the mounting position. Do not forcefully pull the battery.
Step 6 Inspect & Clean
Before reinstalling the battery, take a moment to inspect the battery, connector, and battery compartment.
Battery
Check for visible cracks, damage, deformation, burn marks, or other unusual conditions.
Connector
Check for dirt, debris, visible damage, discoloration, or abnormal deformation.
Battery Compartment
Remove dust or debris with a clean, dry cloth before reinstalling the battery.
2. How to Install the GTX1 Battery
Correct battery orientation is important during installation. Follow the steps below to make sure the battery is positioned correctly before reconnecting the power.
Step 1 Check the Battery Orientation
Before lowering the battery into the compartment, confirm its direction.
Correct Battery Orientation:
- The battery display faces upward.
- The connector port faces the vehicle connector.
- The rear of the battery sits against the rear of the battery compartment.
- The front of the battery is lowered down evenly.
Step 2 Seat the Battery
Place the rear of the battery against the rear of the battery compartment. Keep the front of the battery level and lower it into position.
If the battery does not settle into place, gently move it until it aligns with the mounting position.
Do not force the battery down. If it does not fit correctly, remove it and check the orientation, mounting area, and battery compartment for obstructions.
Step 3 Connect the Black Battery Connector
Once the battery is fully seated, align the black connector with the battery connection and connect it securely.
Make sure the connector is fully inserted. If it does not fit naturally, check its orientation and inspect the connector for debris.
Step 4 Turn On the Battery
After confirming that the black connector is securely connected, turn on the red battery power switch.
Step 5 Check the Battery Level
Check the battery level display and make sure the battery is showing a normal charge level.
Step 6 Reinstall the Seat
Tilt the seat into position and align it with the mounting points. Once the seat is correctly positioned, use the key to lock it in place.
Gently check the seat to make sure it is securely locked before continuing.
Step 7 Turn On the GTX1
Use the key to turn on the GTX1. Check that the vehicle powers on normally and that the battery level is displayed correctly.

3. Final Battery & Power Check
Before riding, complete this quick inspection to make sure the battery and seat are properly secured.
- Battery is fully seated in the battery compartment.
- Battery orientation is correct.
- Black battery connector is fully connected.
- Red battery power switch is ON.
- Battery level displays normally.
- Seat is properly installed and locked.
- GTX1 powers on normally.
- No unusual movement, noise, or electrical behavior is present.
Safety First: Do not ride the GTX1 if the battery is loose or the electrical system behaves abnormally.
4. GTX1 Battery Troubleshooting
If the GTX1 does not operate normally after battery installation, check the following common causes before contacting support.
Battery Will Not Come Out
Check the following:
- Make sure the seat is fully unlocked.
- Confirm the battery connector has been disconnected.
- Check whether the battery is caught on the mounting position.
Gently move the battery while lifting it. Do not force it out.
Battery Will Not Fit
Check:
- Battery orientation.
- Battery display direction.
- Connector position.
- Foreign objects inside the battery compartment.
- Wires that may be blocking the battery.
GTX1 Will Not Power On
Check these items in order:
- Battery is fully seated.
- Black battery connector is fully connected.
- Red battery switch is ON.
- Battery has sufficient charge.
- Ignition key is turned on.
Battery Level Does Not Display
Confirm that the black connector is fully connected, the red battery switch is ON, the battery is correctly seated, and the battery has sufficient charge.
If the display still does not show the battery level, stop using the vehicle and contact HiKNiGHT Customer Support.
Battery Feels Loose After Installation
Do not ride the GTX1 if the battery is visibly loose. Turn off the vehicle and battery, remove the battery, and check that it is correctly aligned with the mounting position.
If the battery remains loose after reinstalling it, contact HiKNiGHT Customer Support:support@hiknightebike.com.
5. GTX1 Battery Care & Maintenance
Simple maintenance can help keep the GTX1 battery and electrical connection system in good condition.
Keep It Dry
Keep the battery and electrical connectors dry. Avoid allowing water to enter the battery connection.
Keep It Clean
Periodically remove dust and debris from the battery compartment using a clean, dry cloth.
Inspect the Connector
Check for visible damage, discoloration, looseness, dirt, or debris during battery removal.
Avoid Strong Impact
Avoid unnecessary drops, impacts, or pressure on the battery. Stop using a damaged battery until it has been inspected.
Long-Term Storage
If the GTX1 will not be used for an extended period, store the battery in a dry, ventilated location away from direct sunlight and extreme temperatures. Follow HiKNiGHT's recommended battery storage practices for long-term storage.
HiKNiGHT Replacement Battery
Power your HiKNiGHT™ electric dirt bike with a high-performance lithium-ion NCM battery. Built with IPX6-rated waterproof protection, it delivers reliable energy output even on ...
6. Frequently Asked Questions (FAQ)
Share:
How to Connect GTX1 Dirt Ebike Wiring: Main Wiring Harness Guide